
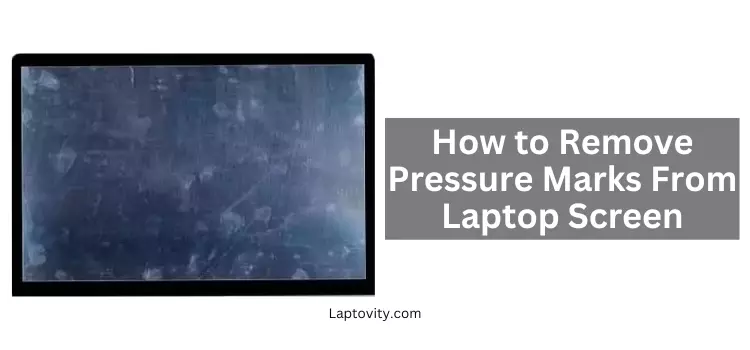
Have you ever noticed those annoying spots on your laptop screen that just won’t go away, no matter how much you clean? Fear not! In this guide, we’ll delve into the world of screens and unveil the secrets of “how to remove pressure marks from laptop screens.”
These unsightly blemishes often occur from everyday use, but with a little know-how and some simple steps, you can bid them farewell and enjoy a crystal-clear display. Let’s embark on a journey to revive your laptop screen and make those pressure marks a thing of the past!
Understanding The Pressure Marks on Laptop Screen
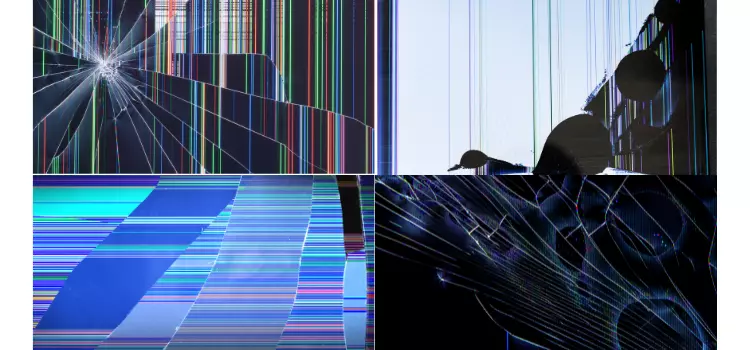
A pressure mark on a laptop screen refers to a visible distortion or discoloration on the display caused by uneven pressure applied to the screen. This can occur when an external force is applied to the laptop screen, such as pressing it with a sharp object or placing heavy pressure on a specific area. Pressure marks are often characterized by irregular patterns, discoloration, or visible lines on the screen where the pressure was applied.
These marks can result in permanent damage to the components of the screen. They may affect the clarity, color accuracy, and overall visual quality of the display. It’s important to handle laptops with care and avoid applying excessive force to the screen to prevent the occurrence of pressure marks.
Common Causes of Pressure Marks on Laptop Screen
Following are some common causes of pressure marks on the laptop screen you should be careful and try to avoid.
- Direct Pressure: Applying direct pressure on the screen with a sharp or pointed object can cause pressure marks.
- Closing the Lid with Objects Inside: Placing objects (such as pens or cables) between the keyboard and the screen when closing the laptop lid can lead to pressure marks.
- Uneven Surface Pressure: Resting the laptop on uneven surfaces or carrying it in a way that subjects the screen to uneven pressure can result in marks.
- Stacking Heavy Items on Top: Placing heavy objects on top of a closed laptop can lead to pressure marks, especially if the weight is concentrated on a small area.
- Improper Cleaning: Using excessive force or abrasive materials while cleaning the screen can damage the display and create pressure marks.
- Manufacturing Defects: In some cases, pressure marks can be caused by manufacturing defects, such as uneven distribution of pressure points within the screen assembly.
- Tight Laptop Bags: Carrying a laptop in a tightly packed bag where there is constant pressure on the screen from surrounding objects.
- Sudden Impact: Dropping the laptop or subjecting it to sudden impacts can cause pressure marks if the screen is affected.
DIY Methods for Pressure Mark Removal from Laptop Screen

Things You Will Need:
- A microfiber cloth
- Distilled water or warm water
- Lint-free cloth for drying
- Compressed air canister (Optional)
- Soft brush or bristle blower (optional)
Before You Start:
- Turn Off the Laptop: Turn off your laptop and disconnect it from any power source. This ensures safety and prevents any electrical issues during the cleaning process.
- Prepare the Cleaning Area: Choose a clean, well-lit area to clean your laptop. Make sure there’s enough space to work comfortably.
- Gather Materials: Collect all the necessary cleaning materials like warm water, Microfiber cloth, Lint-free cloth, etc
- Read Laptop Manual: Consult your laptop’s manual or the manufacturer’s website for any specific cleaning instructions or precautions. Some laptops may have unique coatings that require special care.
Method 1: By Using Microfiber Cloth and Water
Step 1: Power Off the Laptop
- Before cleaning, ensure your laptop is powered off and unplugged.
- This is to prevent electrical issues and make the screen easier to clean.
Step 2: Dust off the Screen
- Gently dust off the laptop screen using a soft brush or can of compressed air to remove any loose particles.
Step 3: Dampen the Microfiber Cloth
- Dampen a corner of the microfiber cloth with distilled water.
- It’s important to use distilled water to avoid any minerals or impurities that may be present in tap water.
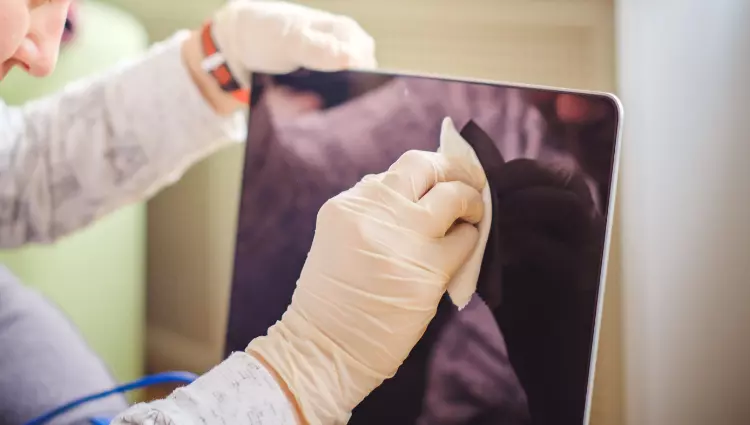
Step 4: Wipe the Pressure Mark
- Gently wipe the pressure mark on the laptop screen using the dampened part of the microfiber cloth.
- Use circular motions and apply light pressure. Be careful not to press too hard, as excessive pressure may damage the screen.
Step 5: Dry the Screen
- After wiping the pressure mark, use the dry part of the microfiber cloth to dry the screen thoroughly.
- Ensure that no excess water remains on the screen.
Step 6: Check for Improvement
- Power on the laptop and check if the pressure mark has improved. If needed, you can repeat the process.
Method 2: By Using the Screen Cleaner Solution
You Will Need:
- Screen cleaner solution (or a homemade solution of equal parts distilled water and white vinegar or isopropyl alcohol)
- Microfiber cloth (clean and free of debris)
Follow the step-by-step method as given above method no.1, and use the screen cleaner solution instead of water. After cleaning the screen properly, power on the laptop and check if the pressure mark has improved.
Additional Tips:
- If the pressure mark persists, you can try adjusting the ratio of the screen cleaner solution. Some prefer a slightly stronger solution with more white vinegar or isopropyl alcohol.
- Avoid using paper towels or rough materials, as they can scratch the screen.
- Do not use excessive force during cleaning.
Using a Specialized Screen Repair Kit
Things You Will Need:
- Specialized LCD or screen cleaning kit (available at electronics or computer accessory stores)
- Microfiber cloth (clean and free of debris)
- Compressed air canister (Optional)
Step 1: Power Off the Laptop
- Ensure your laptop is powered off and unplugged before you begin cleaning to prevent any electrical issues.
Step 2: Dust off the Screen
- Gently remove any dust or loose particles from the laptop screen using a microfiber cloth.
- Or you can use a soft brush or a can of compressed air to remove dust.
Step 3: Read the Cleaning Kit Instructions
- Different cleaning kits may have specific instructions, so it’s crucial to read and follow the guidelines provided by the manufacturer of the cleaning kit. This may include information on how to use the solution or any precautions to take.
Step 4: Apply the Cleaning Solution
- Use the cleaning solution provided in the kit or as per the instructions.
- Apply it to a microfiber cloth or directly onto the screen, depending on the kit’s recommendations.
- Don’t pour the cleaning solution directly onto the screen.
Step 5: Wipe the Pressure Mark
- Gently wipe the pressure mark on the laptop screen using the microfiber cloth with the cleaning solution.
- Use circular motions and apply light pressure.
- Be cautious not to press too hard to avoid damaging the screen.
Step 6: Dry the Screen
- After wiping the pressure mark, use the dry part of the microfiber cloth or another dry cloth to thoroughly dry the screen.
- Make sure no excess moisture remains.
Step 7: Check for Improvement
- Power on the laptop and check if the pressure mark has improved.
- If needed, you can repeat the process.
NOTE:
Remember to be patient and gentle during every process. If the pressure mark persists after multiple attempts, or if you are uncertain, it’s advisable to seek professional assistance or contact the laptop manufacturer for guidance.
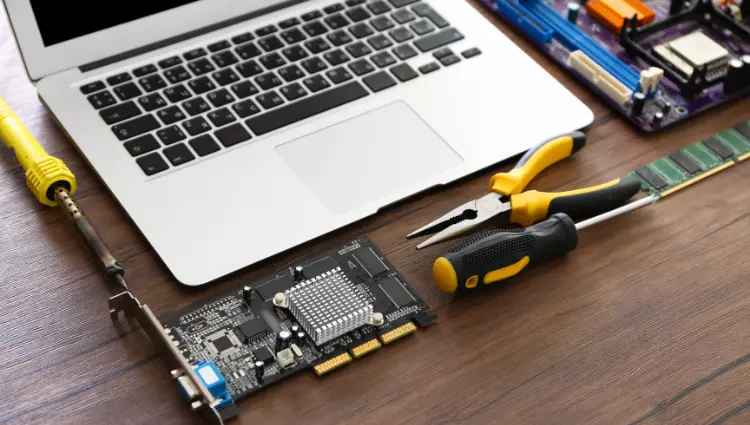
When to Seek Professional Help
When pressure marks on your laptop screen persist despite your cleaning efforts or if the damage is extensive, it’s time to consider seeking professional help. Professional technicians have the expertise and tools necessary to assess and address screen issues effectively.
Extent of Damage
- If the pressure marks are minimal and don’t significantly affect your viewing experience, you may try some DIY methods first.
- If the damage is extensive, covering a large portion of the screen or causing distorted images, it’s advisable to seek professional assistance.
DIY Attempts
- Before seeking professional help, you can attempt some gentle cleaning methods. Use a microfiber cloth and a small amount of screen-cleaning solution to wipe the screen.
- Avoid using excessive force or harsh chemicals, as this may worsen the damage.
Persistence of Marks
- If the pressure marks persist despite your efforts to clean the screen, it’s a sign that the damage might be more severe, and professional intervention may be necessary.
Under Warranty
- If your laptop is still under warranty, check the terms and conditions. Screen damage may be covered, and seeking assistance from the manufacturer or an authorized service center is recommended.
Professional Expertise
- If you lack the technical skills or confidence to disassemble and repair the laptop screen, it’s best to consult a professional technician.
- Attempting to fix the issue yourself without the right knowledge can lead to further damage.
Time and Convenience
- If you’re short on time or find the DIY methods to be time-consuming without satisfactory results, seeking professional help can save you time and ensure a more effective resolution.
Specialized Tools
- Professional technicians have access to specialized tools and equipment that may be required for intricate screen repairs. If the damage is beyond a simple cleaning, these tools may be essential.
Risk of Further Damage
- If you’re concerned that attempting to fix the pressure marks yourself may lead to further damage, it’s a clear indication to seek professional assistance.
So understand, if the pressure marks persist after attempting gentle cleaning methods or if the damage is extensive, seeking professional help is advisable. This is especially true if your laptop is still under warranty or if you lack the technical expertise to handle the repair. Professional technicians have the skills and tools needed to assess and address screen damage effectively.
Dos and Don’ts for Laptop Screen Pressure Mark Removal
Dos for Pressure Mark Removal
- Power Off and Unplug: Do power off your laptop and unplug it before attempting to clean the screen. This minimizes the risk of electrical issues.
- Use a Soft Cloth: Use a soft microfiber cloth for cleaning. Microfiber is gentle and less likely to scratch the screen.
- Dust Off First: Remove any dust or loose particles from the screen using a soft brush or can of compressed air before cleaning.
- Follow Manufacturer Guidelines: Follow any specific guidelines provided by the laptop manufacturer for cleaning the screen.
- Be Gentle: Be gentle when applying pressure or using cleaning solutions. Excessive force can damage the screen.
- Check for Compatibility: Check if the cleaning solution or method you’re using is compatible with your laptop screen. Some screens have special coatings that may require specific care.
- Read Cleaning Kit Instructions: Read and follow the instructions provided with specialized cleaning kits. Different kits may have specific recommendations.
- Test in a Small Area: Test any cleaning solution or method in a small, inconspicuous area first to ensure it doesn’t cause damage.
- Dry Thoroughly: Ensure the screen is thoroughly dried after cleaning to prevent moisture damage.
Don’ts for Pressure Mark Removal
- Don’t Clean a Powered-On Laptop: Don’t attempt to clean the screen while the laptop is powered on. Turn it off and unplug it first.
- Avoid Paper Towels: Don’t use paper towels or rough materials, as they can scratch the screen.
- Avoid Excessive Pressure: Don’t apply excessive pressure when wiping the screen. Be gentle to avoid causing damage.
- Don’t Use Harsh Chemicals: Don’t use harsh chemicals or abrasive cleaning solutions. Stick to solutions recommended for electronic screens.
- Don’t Spray Directly on the Screen: Don’t spray cleaning solutions directly onto the screen. Apply it to the cleaning cloth first.
- Don’t Use Ammonia-Based Cleaners: Don’t use cleaners containing ammonia, as it can damage LCD screens.
- Don’t Skip Testing: Don’t skip testing a cleaning solution or method in a small area before applying it to the entire screen.
- Don’t Ignore Persistent Issues: Don’t continue cleaning if the pressure mark persists. Seek professional assistance or contact the laptop manufacturer for guidance.
FAQs About How to Remove Pressure Marks From Laptop Screen
How do I get rid of pressure marks on my screen?
To remove pressure marks from your screen, use a gentle cleaning solution like distilled water and white vinegar on a microfiber cloth, applying light circular motions. Avoid using excessive pressure and power off your device before cleaning.
Are pressure marks permanent?
Pressure marks on a laptop screen are often temporary and can be addressed using gentle cleaning methods.
Can pressure damage a laptop screen?
Yes, sustained pressure on a laptop screen can cause permanent damage, leading to pixel issues, discoloration, or the formation of pressure marks. Avoid placing heavy objects on the screen and handle the device with care to prevent such damage.
Can I use alcohol to clean the screen?
No, try to avoid using alcohol, as it can damage the screen further.
How often should I clean my laptop screen?
Regularly clean your laptop screen every two weeks to prevent the accumulation of dirt and potential pressure marks.
Where can I buy a specialized screen repair kit?
Specialized screen repair kits can be purchased from electronics or computer accessory stores, or online retailers.
How much does professional repair cost?
Professional repair costs for a laptop screen can vary widely, ranging from $50 to $200 or more, depending on factors like the extent of the damage and the service provider.